 Log in
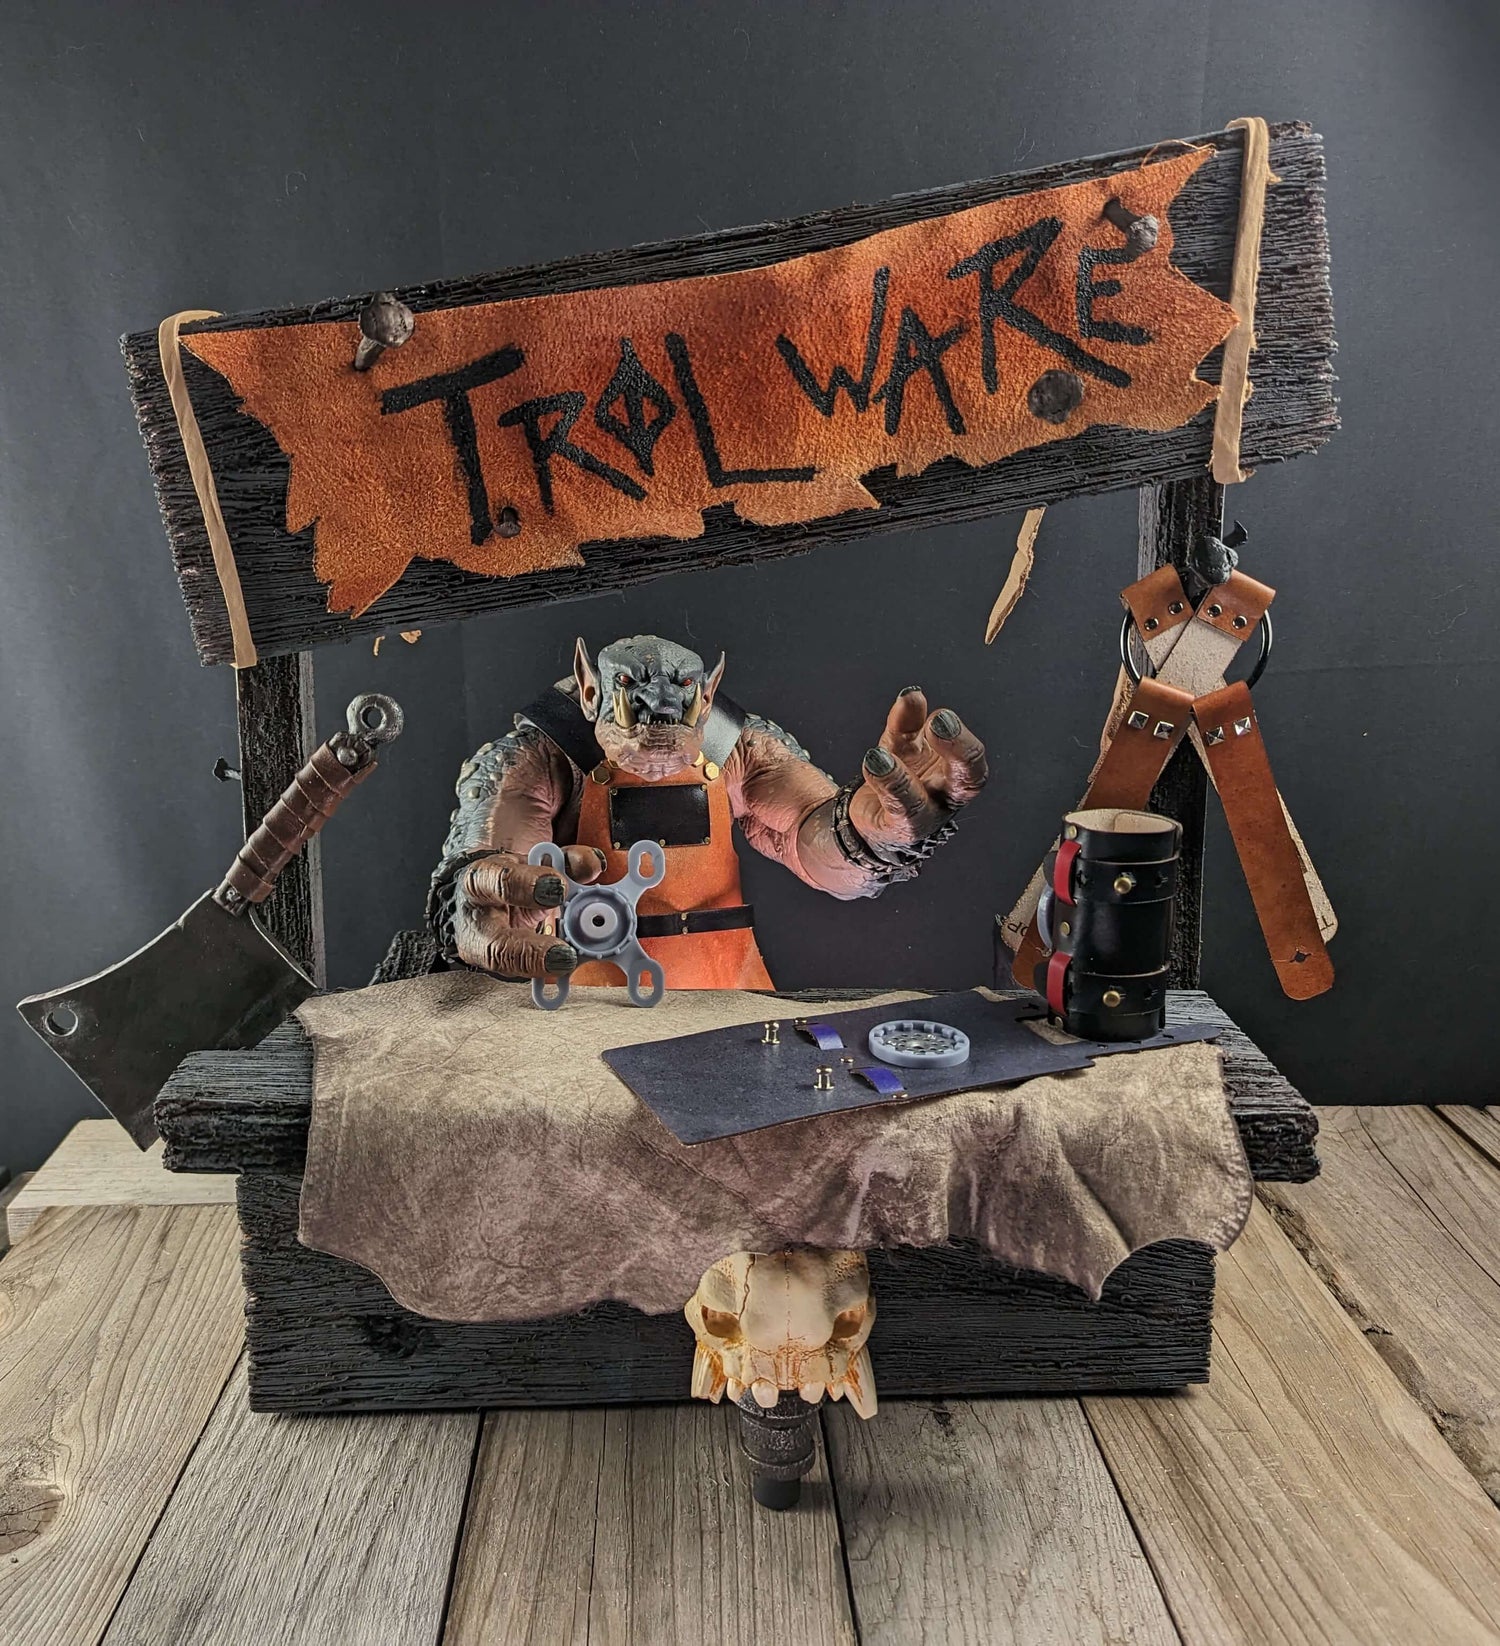
How To Put on Your Trolls New Harness
This page is to help you put it on your favorite Mythic Legions Troll by the Four Horsemen.
You can either watch the above video (coming soon) to see how to put on a LadyTank Studios Troll Harness or you can follow along in the step by step guide below.
- STEP 1: Pick Your Troll/Harness Color
- 1.1: This is a very important step, as making sure you have a Troll (purchased separately from The Four Horsemen Studios) and a color that will impress all the other Trolls, is a must!
- STEP 2: Assessing Your Harness
-
2.1: Now that you have your harness out of its packaging you will notice it comes with the harness itself (the leather straps attached to the metal O ring) and the cross breech assembly (the X shaped leather with 4 monk rivets on it)

- 2.2: Make sure all the parts are there! If they are not, please contact us so that we can help you.
- STEP 3: Putting the Harness On - PART 1 (Top)
-
3.1: There are four types of heads that a Troll can have. Three that are small and one that is large (beard and horns). You will need to determine which head your Troll has. The next step is for Large Headed Trolls. If you have a Small Headed Troll please skip to Step 5.

- STEP 4: Large Headed Troll
- 4.1: If you have a large headed troll like the top head (blue) in the image above then attaching the cross breech assembly first won't work. It will stretch and possibly mar the leather as it tries to stretch over the width of the head with its horns.
- 4.2: You will need to take one of the two longer straps of the harness (they also say TOP on the underside of the straps) and connect it to the cross breech assembly.
-
4.3: To Do This: The cross breech assembly (shaped like an X) has a top and a bottom. If you look on the underside the top will be labeled TOP and the bottom as BOTTOM. The top of the cross breech assembly is straight but the bottom has an angle towards the end of the X shape. Please see the image below.

-
4.4: Slide the first long strap (marked TOP) that you're chosen (left or right) with the corresponding side on the cross breech assembly's slot. Sliding it through creates extra stability.

- 4.5: Once the long strap is through the slot, pull it until the straps larger eye (hole) is over the monk head rivet.
- 4.6: Push the leather over the monk head rivet.
-
4.7: Pull the leather strap and cross breech assembly away from one another so the monk head rivet slips into the smaller eye (hole).

- 4.8: The strap is now in place.
- 4.9: Slide the now combined leather strap under the larger troll head so that the cross breech assembly is against the trolls back.
-
4.10: Reach over the other shoulder to grab the secondary longer strap, slipping it under the larger troll head, and repeating steps 4.4-4.8 to fully attach the top half of the harness to the cross breech assembly.

- STEP 5: Small Headed Troll
- 5.1: You will need to take one of the two longer straps of the harness (they also say TOP on the underside of the straps) and connect it to the cross breech assembly.
-
5.2: To Do This: The cross breech assembly (shaped like an X) has a top and a bottom. If you look on the underside the top will be labeled TOP and the bottom as BOTTOM. The top of the cross breech assembly is straight but the bottom has an angle towards the end of the X shape. Please see the image below.
- 5.3: Slide the first long strap (marked TOP) that you're chosen (left or right) with the corresponding side on the cross breech assembly's slot. Sliding it through creates extra stability.
- 5.4: Once the long strap is through the slot, pull it until the straps larger eye (hole) is over the monk head rivet.
- 5.5: Push the leather over the monk head rivet.
-
5.6: Pull the leather strap and cross breech assembly away from one another so the monk head rivet slips into the smaller eye (hole).
- 5.7: The strap is now in place.
-
5.8: Repeat steps 5.3-5.7 to fully attach the top half of the harness to the cross breech assembly.

-
5.9: Now that the top half of the harness is connected to the cross breech assembly put it over the top of your trolls head so that the cross breech assembly is flat against your trolls back.


- Step 6: Putting the Harness On - PART 2 (Bottom)
-
6.1: Slide the first short strap (marked bottom) that you're chosen (left or right) with the corresponding side on the cross breech assembly's slot. Sliding it through creates extra stability.


- 6.2: Once the long strap is through the slot, pull it until the straps larger eye (hole) is over the monk head rivet.
-
6.3: Push the leather over the monk head rivet.

-
6.4: Repeat steps 6.1-6.3 to fully attach the bottom half of the harness to the cross breech assembly.


- Step 7: Adjusting the Harness
- 7.1: You're almost done in making sure your troll is battle ready! The most important part is to make sure they look their best.
-
7.2: Turn your troll around to make sure the left and right top strap are sitting on their neck muscles like the images below.


- 7.3: Finally, make sure the bottom straps are situated under your trolls wing muscles similar to the images above.